
Although our affiliate marketing platform already provides a flexible way to create a registration form for your affiliates, the additional flexibility gained by using Ninja Forms with its convenient actions and add-ons is desirable in some cases.
Our integration works with and without the Ninja Forms User Management add-on.
Here we are going to learn how to create an affiliate registration form with Ninja Forms.
We recommend to quickly review the Registration section of the affiliate marketing plugin. Make sure that there is a field present for every piece of information you require your affiliates to provide when joining the affiliate program.
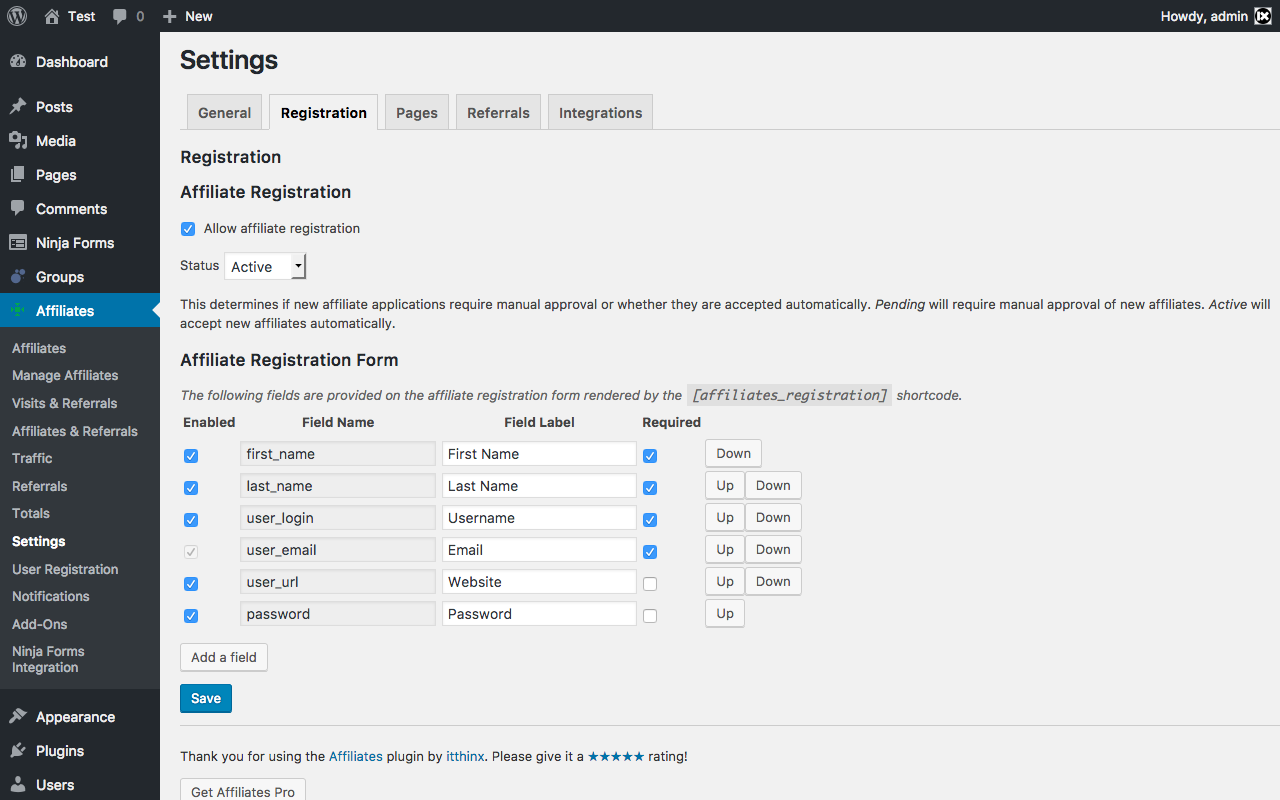
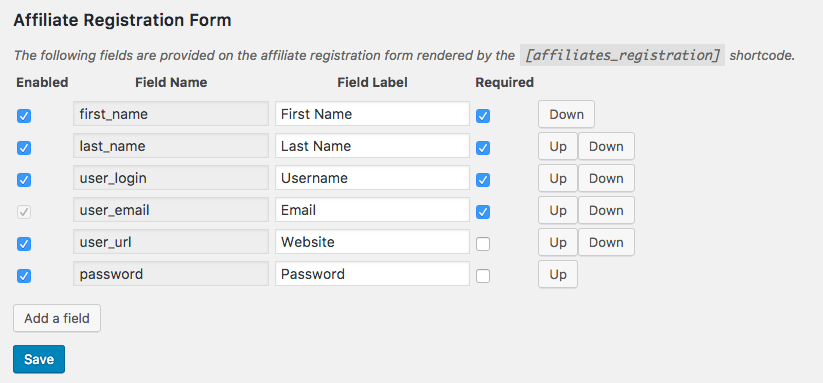
The fields you use in your affiliate program are going to be mapped to fields in your Ninja Forms form. To verify your current settings, go to Affiliates > Settings > Registration and review the fields under Affiliate Registration Form. In the instructions below, we will use these fields:
In the following, we assume that you are going to create a new form that you will use to let your affiliates sign up. All fields except the Website and Password are required. In this case, the password will be generated automatically unless the user specifies it explicitly.
If you already have a form that allows users to register on your site, you can even use that to let them opt in on your affiliate program. In that case, you can simply skip some of the steps below, make some quick adjustments and that’s it.
How to create a new Affiliate Registration Form
We will base our example on the default set of affiliate registration fields that our affiliate marketing platform uses. This includes the following fields:
- First Name
- Last Name
- Username
- Website
- Password
The absolute minimum set of fields required to let someone join the affiliate program would just include the Email. However, we recommend adding all of the registration fields that will convey an appropriate set of information to you about your affiliates. To make it easy to follow our example below, please make sure that all of the above fields are set as enabled and required where shown.
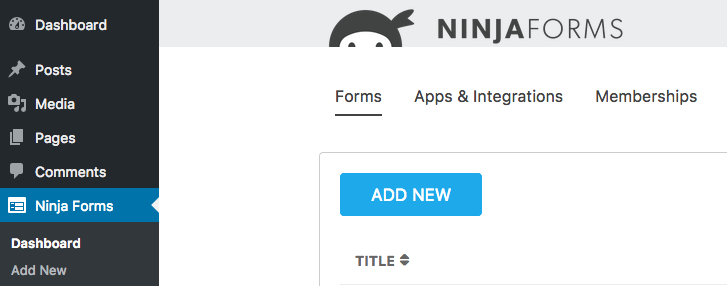
On your WordPress Dashboard, go to Ninja Forms > Add New.
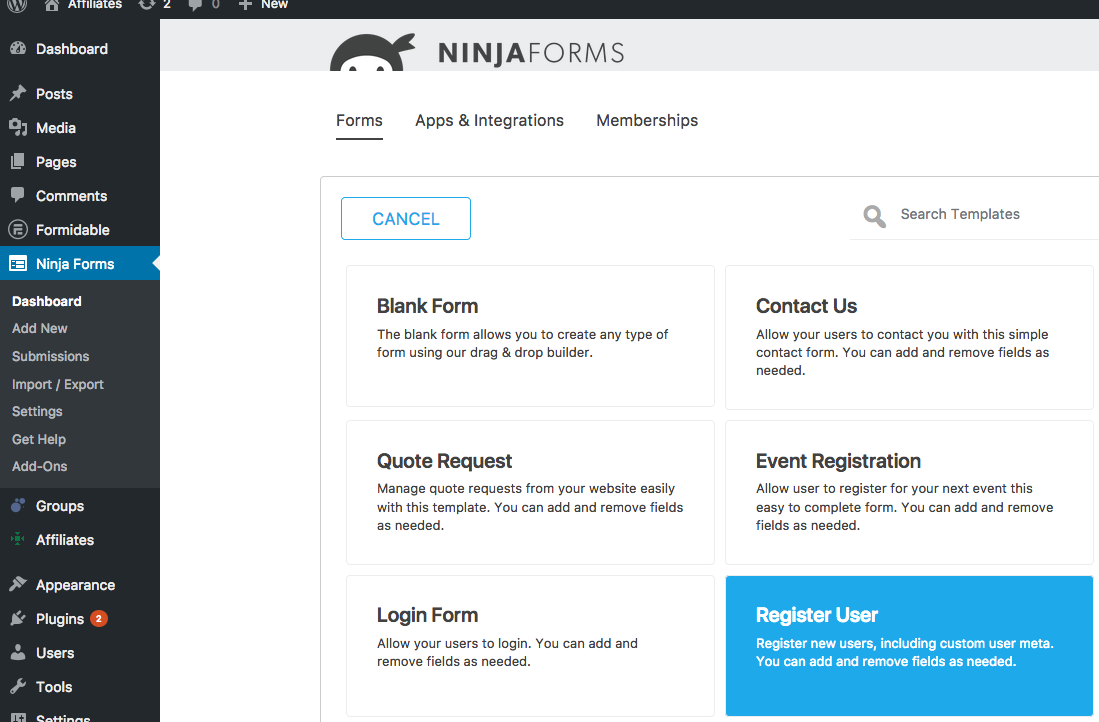
Now choose the Blank Form*.
![]()
*If you have the User Management add-on installed, instead of choosing the Blank Form, you can simply choose the Register Form and use the predefined fields instead of adding them individually as explained below.
From the available form fields, add one of each of the following:
- First Name
- Last Name
- Single Line Text (we will use that for the Username)
- Single Line Text (for the Website)
- Password* (also include the Password Confirm field when asked)
- Submit
*If you do not include a Password field or the Password field is left empty on submission, a password is created automatically for the new user. Make sure to enable Notifications so that new users receive their password. Use a Single Line Text field with versions of Ninja Forms that do not include a specific Password field type or use the User Registration provided with the User Management add-on instead.
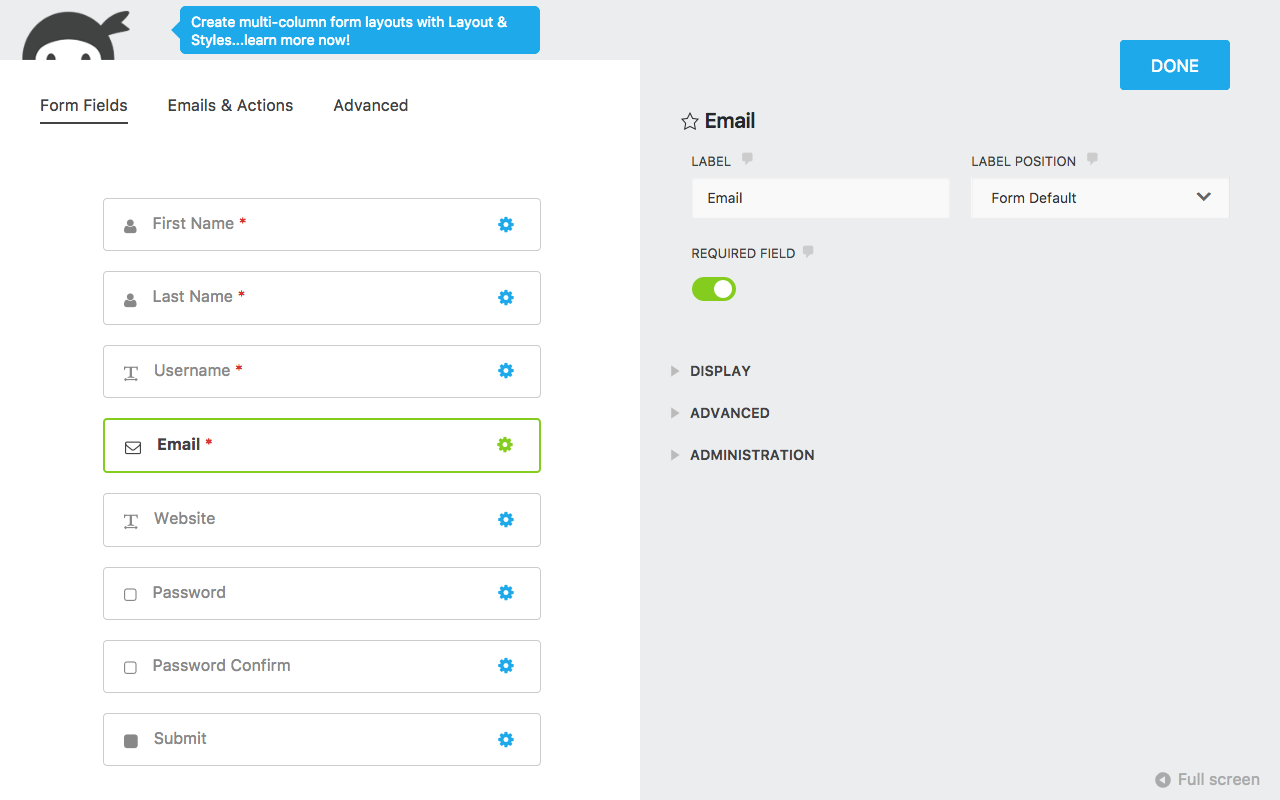
Here you can see how our new form’s field are configured – check that you have defined and labelled all fields appropriately and click Done.
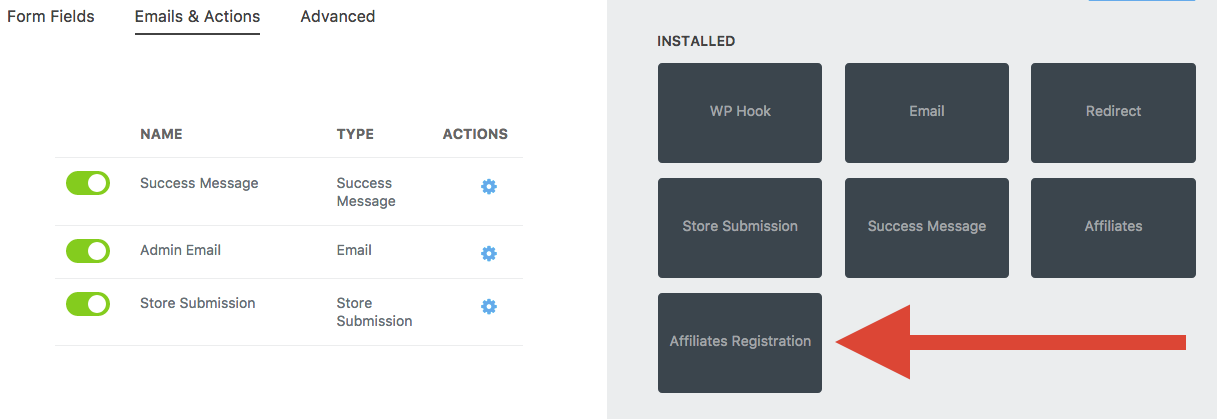
Once you’ve added all the registration fields, go to Emails & Actions, click the blue plus-sign button to open the available Ninja Forms actions and in the Installed section, click on the Affiliates Registration action.

Please note that our integration adds two distinct actions, one is the Affiliates action which is used to enable form referrals, the other one is Affiliates Registration used to allow affiliates to register through the form. Here we’re interested in the second one that enables registration.
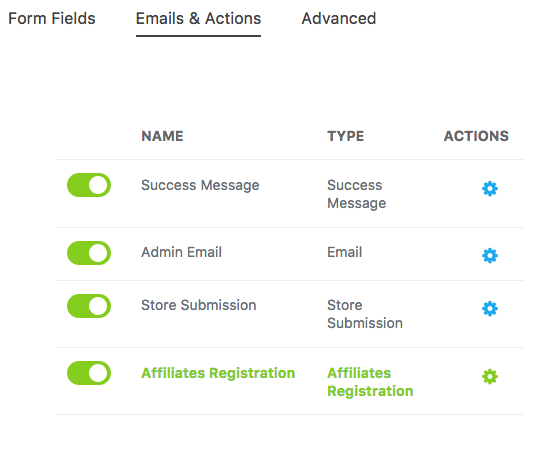
After you click the action panel, the Affiliates Registration action is added to your form.
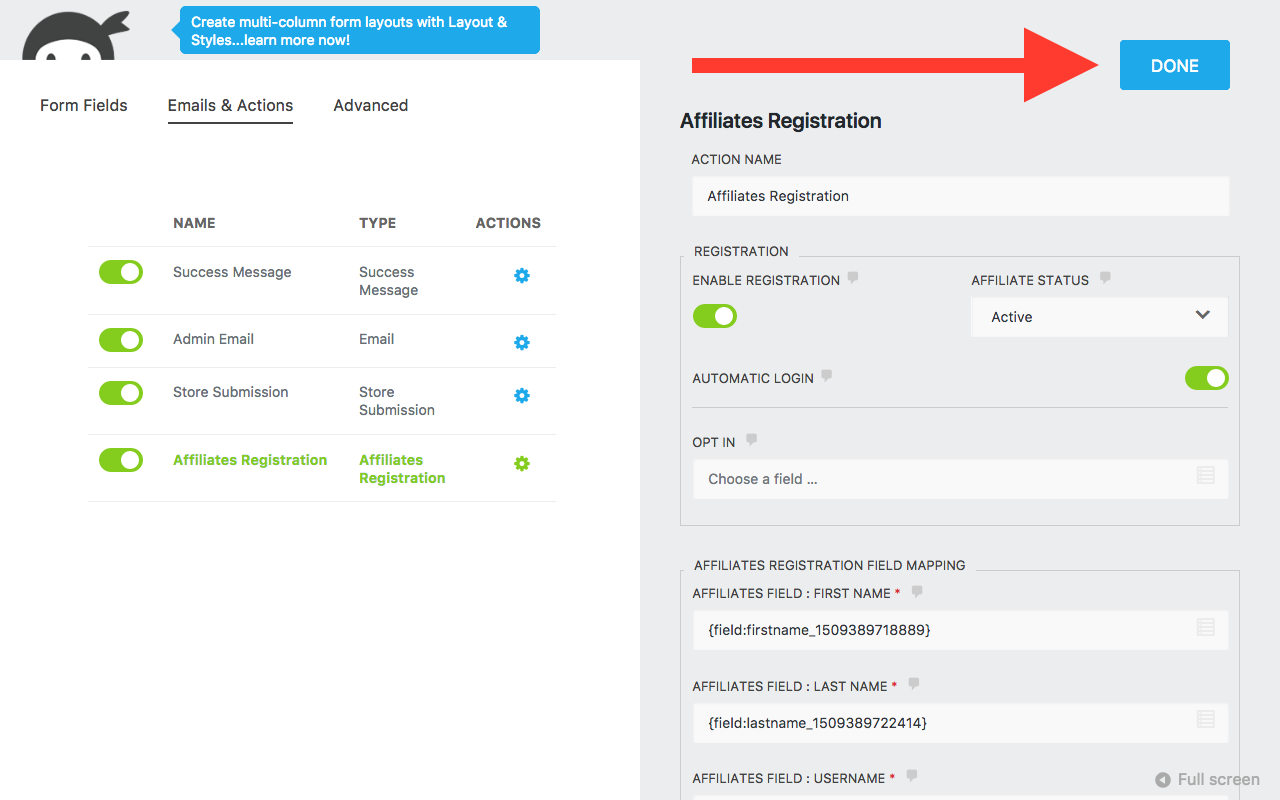
Now we need to enable the form for affiliate registration and tell Ninja Forms which fields should be used with the Affiliates system. As you have just added the Affiliates Registration action you will see the corresponding options (otherwise click Emails & Actions for the form and then Affiliates Registration):
- Under Registration, switch Enable Registration on.
- For every Affiliates Field under Affiliates Registration Field Mapping, click the little box in each entry to choose the corresponding field that you have added to the form.
Let’s take a detailed look at the configuration sections …
Registration
The Registration section of the action offers several options. You must at least switch Enable Registration on to let existing or new users join your affiliate program. Furthermore you can set the default status, enable automatic login and choose the Opt In field.
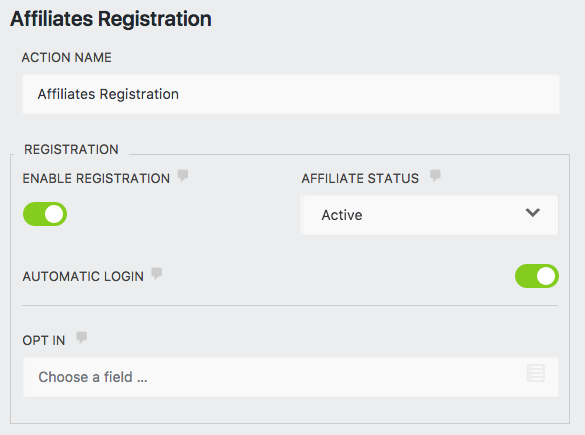
You can select whether or not you’d like new affiliate accounts to be logged in automatically after submitting their affiliate registration by switching Automatic Login on or off. If you use the Register Form action of the User Management add-on, you should use the corresponding option of that action instead.
You can also choose the status for new applicants under Affiliate Status in the Registration section of the action. Use Active to allow new affiliate accounts to use the system right away. Use Pending to review new applications before their affiliate account is enabled.
If you want affiliates to opt in on the affiliate program, you can provide a field of type Single Checkbox (if chosen, it must be of that type) for that purpose and select that field under Opt In in the Registration section of the action. We leave this empty in our example.
Affiliates Registration Field Mapping
For every Affiliates Field under Affiliates Registration Field Mapping, click the little box in each entry to choose the corresponding field that you have added to the form.
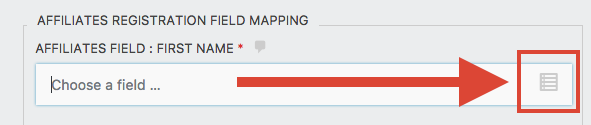
Click the little box and choose the appropriate field to map the affiliate registration field to the form field …
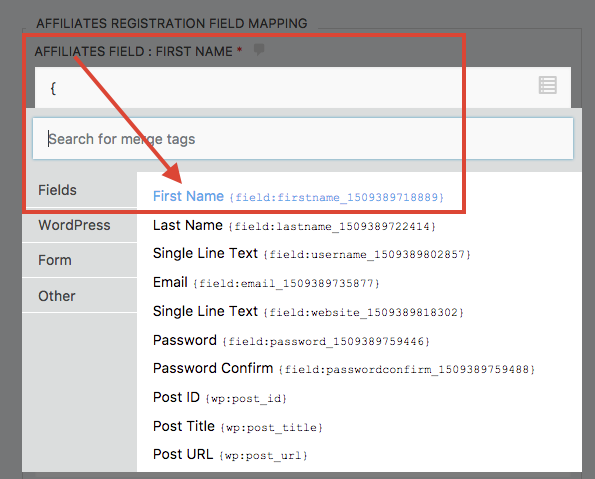
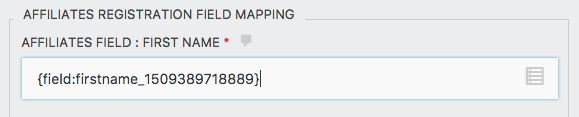
Make sure to choose only one entry. Here’s an example for the First Name field on our form:
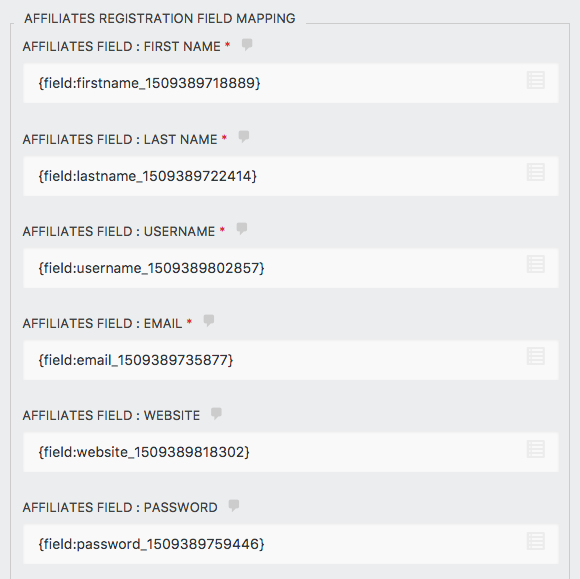
Do the same for the remaining fields. This is how it looks like on our form after completing the mapping for all fields:
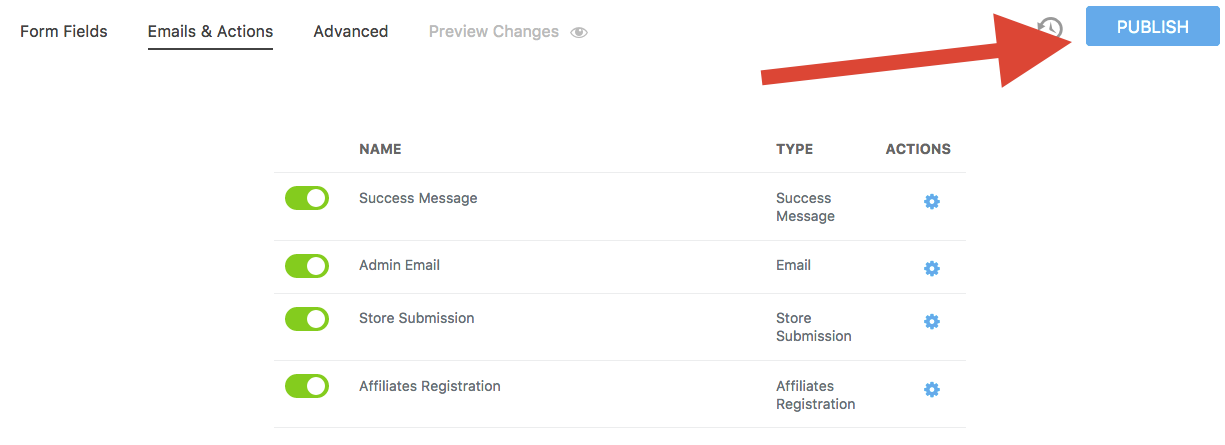
Once you have selected your options and set the fields, click Done and proceed to Publish your form.
Here is the Emails & Actions section of our form about to be published … we’re a step away from giving it a title and being ready to deploy it.
Give your form a meaningful title …
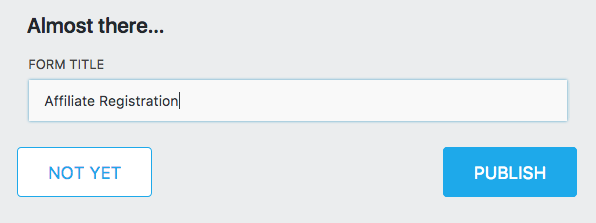
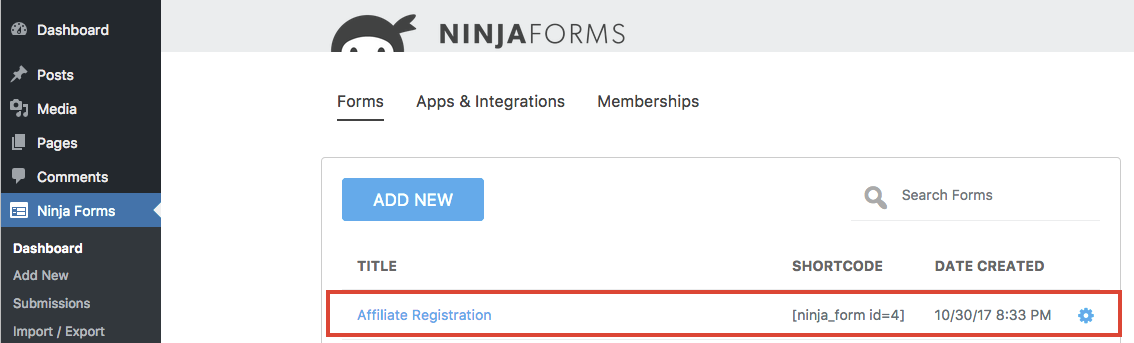
… and click Publish. When you return to the Ninja Forms Dashboard, you will see a new entry for your form along with the shortcode that is used to embed the form on a page.
Notes
- The form will allow visitors without an account to create an account and join your affiliate program.
- The form will also allow registered users who already have an account and are logged in to join your affiliate program.
- You can create more than one affiliate registration form for affiliates to sign up.