Installation
Dashboard
Log in as an administrator and go to Plugins > Add New. You can install the plugin by uploading the plugin file or searching it in the WordPress plugins directory.
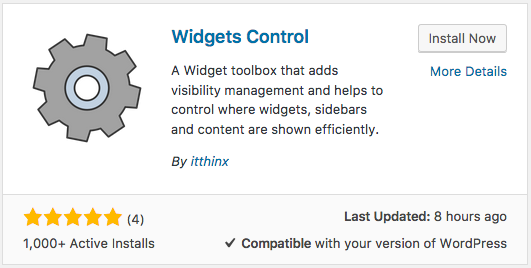
a) Type Widgets Control in the search field and click Search Plugins, locate the Widgets Control plugin by itthinx and install it by clicking Install Now.

b) Alternatively, obtain the latest version here, then click the Upload Plugin button and choose the plugin’s zip file, click the Install Now button.
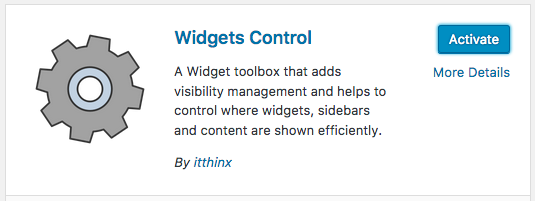
Now activate the plugin.
 FTP
FTP
You can also install the plugin via FTP, see Manual Plugin Installation
Plugin Activated
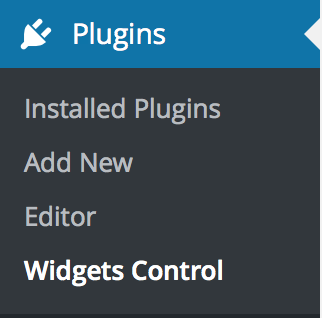
Hooray! All your widgets are belong to … you – well at least with Widgets Control you’ll be mastering everything very easily in no time. Once installed and activated, you will find a few useful links right in its entry on the Plugins admin screen:
- Get Pro – Obviously this will lead you to our shop page where you can get the premium version. Don’t worry, you don’t need to purchase anything to use this plugin and you can decide later on whether you would benefit from the additions that the premium version provides.
- Settings – We’ll have a look at those below. You won’t even have to change anything there in most cases.
- Content Blocks – This will lead you to the section on the WordPress Dashboard where you can create and edit WYSIWYG Content Blocks that can be used freely with your theme’s sidebars, using shortcodes and within PHP templates.
Settings
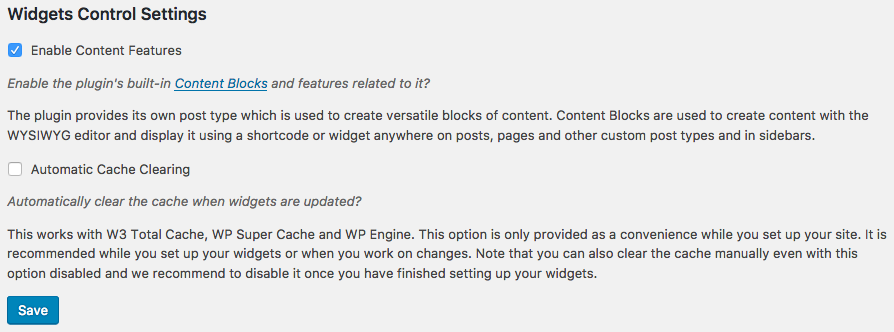
 The Widgets Control plugin is basically setup-free.
Content Features
The plugin provides very useful WYSIWYG Content Blocks that spare you the need to install any additional plugins. This adds a new post type which is available to the Administrator role and those roles that can access theme options (more technically, those roles that have the edit_theme_options capability). This way we assure that only those with the right credentials can add new content blocks or modify existing ones and add them to the site’s sidebars etc.
Automatic Cache Clearing

