
Extensions for Groups can be installed directly from the dashboard or by using the appropriate plugin zip file.
Free extensions which are hosted on WordPress.org can be installed directly from your WordPress dashboard under Plugins > Add New Plugin. Search for the desired extension by itthinx, install and activate it.
For our premium extensions, use the procedure outlined below.
Note that our Premium Extensions are sold exclusively on itthinx.com and on WooCommerce.com.
Only use Premium Extensions that you have obtained directly from these authorized sources. Using copies from other illegitimate sources poses a serious security risk for your site.
1. Make a full backup of your site including all folders and its database.
2. If you have not done so already, install and activate the Groups plugin. Go to Plugins > Add New Plugin and search for groups, locate the Groups plugin by itthinx and click install and then activate it.
3. Purchase and download the extension you want to install. You will obtain access to a .zip file which contains the plugin that you are going to install.

4. Go to Plugins > Add New Plugin > Upload Plugin and click the Choose File or Browse … button and select the .zip file of the extension to install.
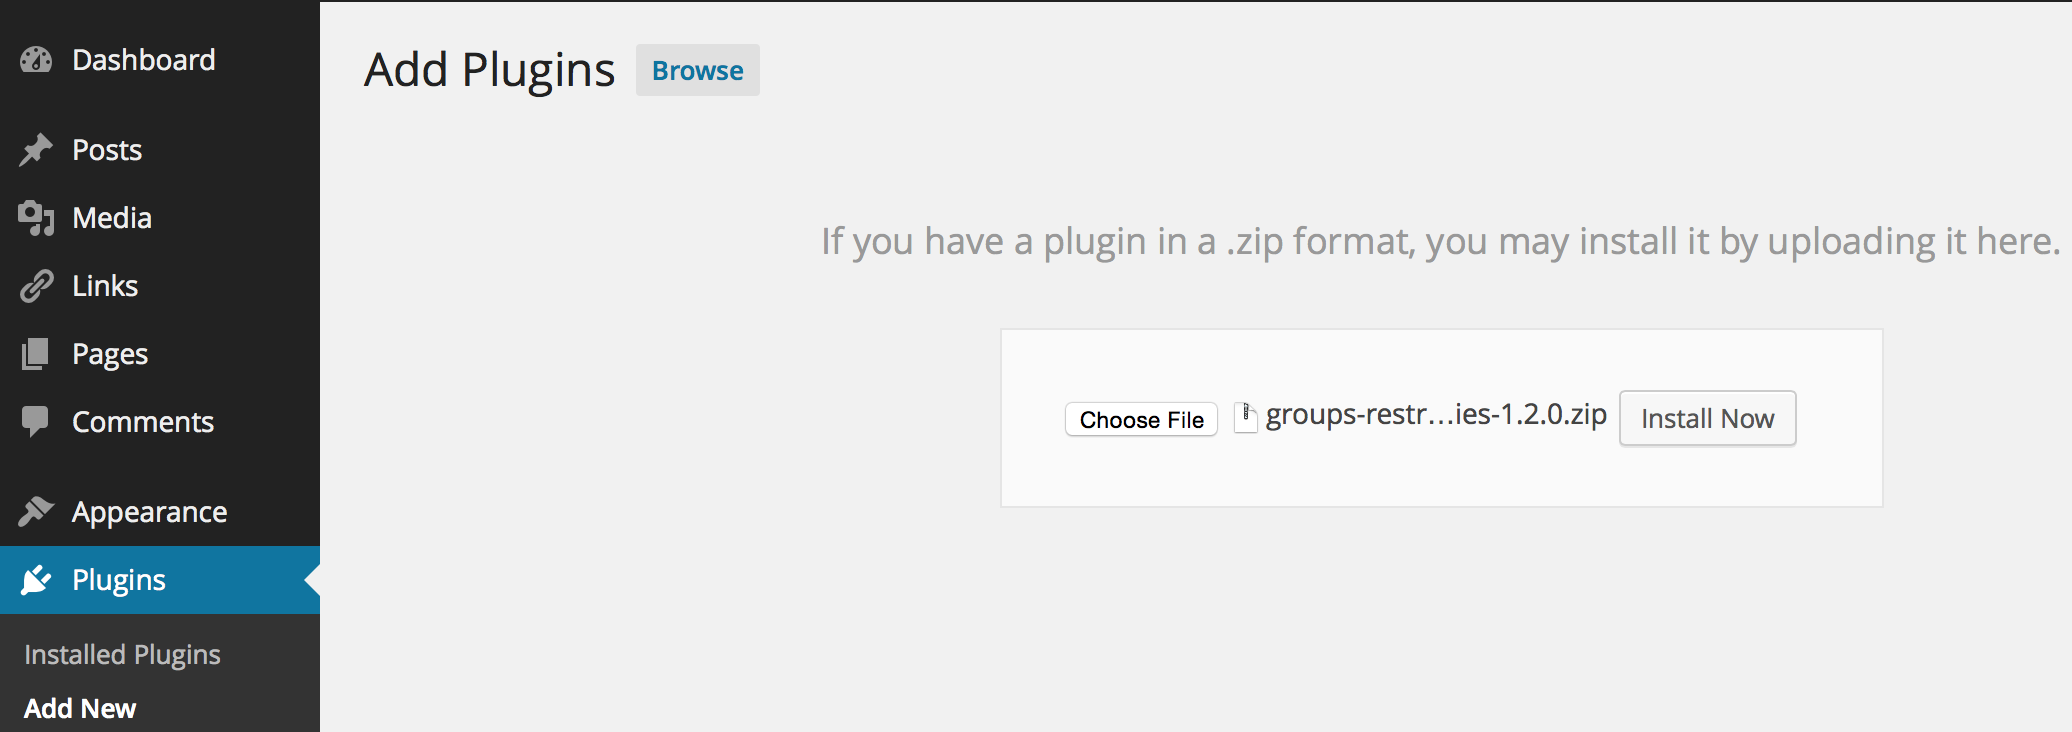
In this example, our zip file is named groups-restrict-categories-x.y.z.zip. Please note that the filename will reflect the name of the extension you are about to install and will likely be different.
5. Click the Install Now button.
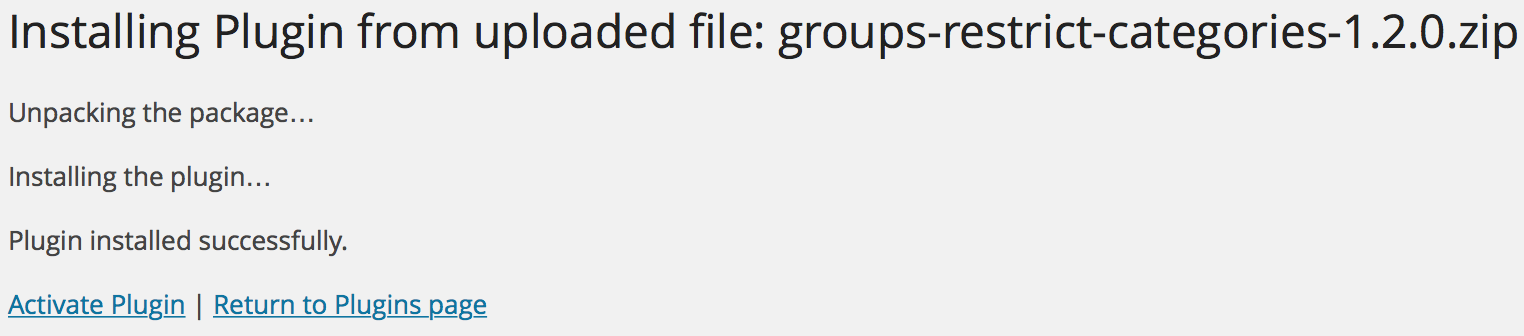
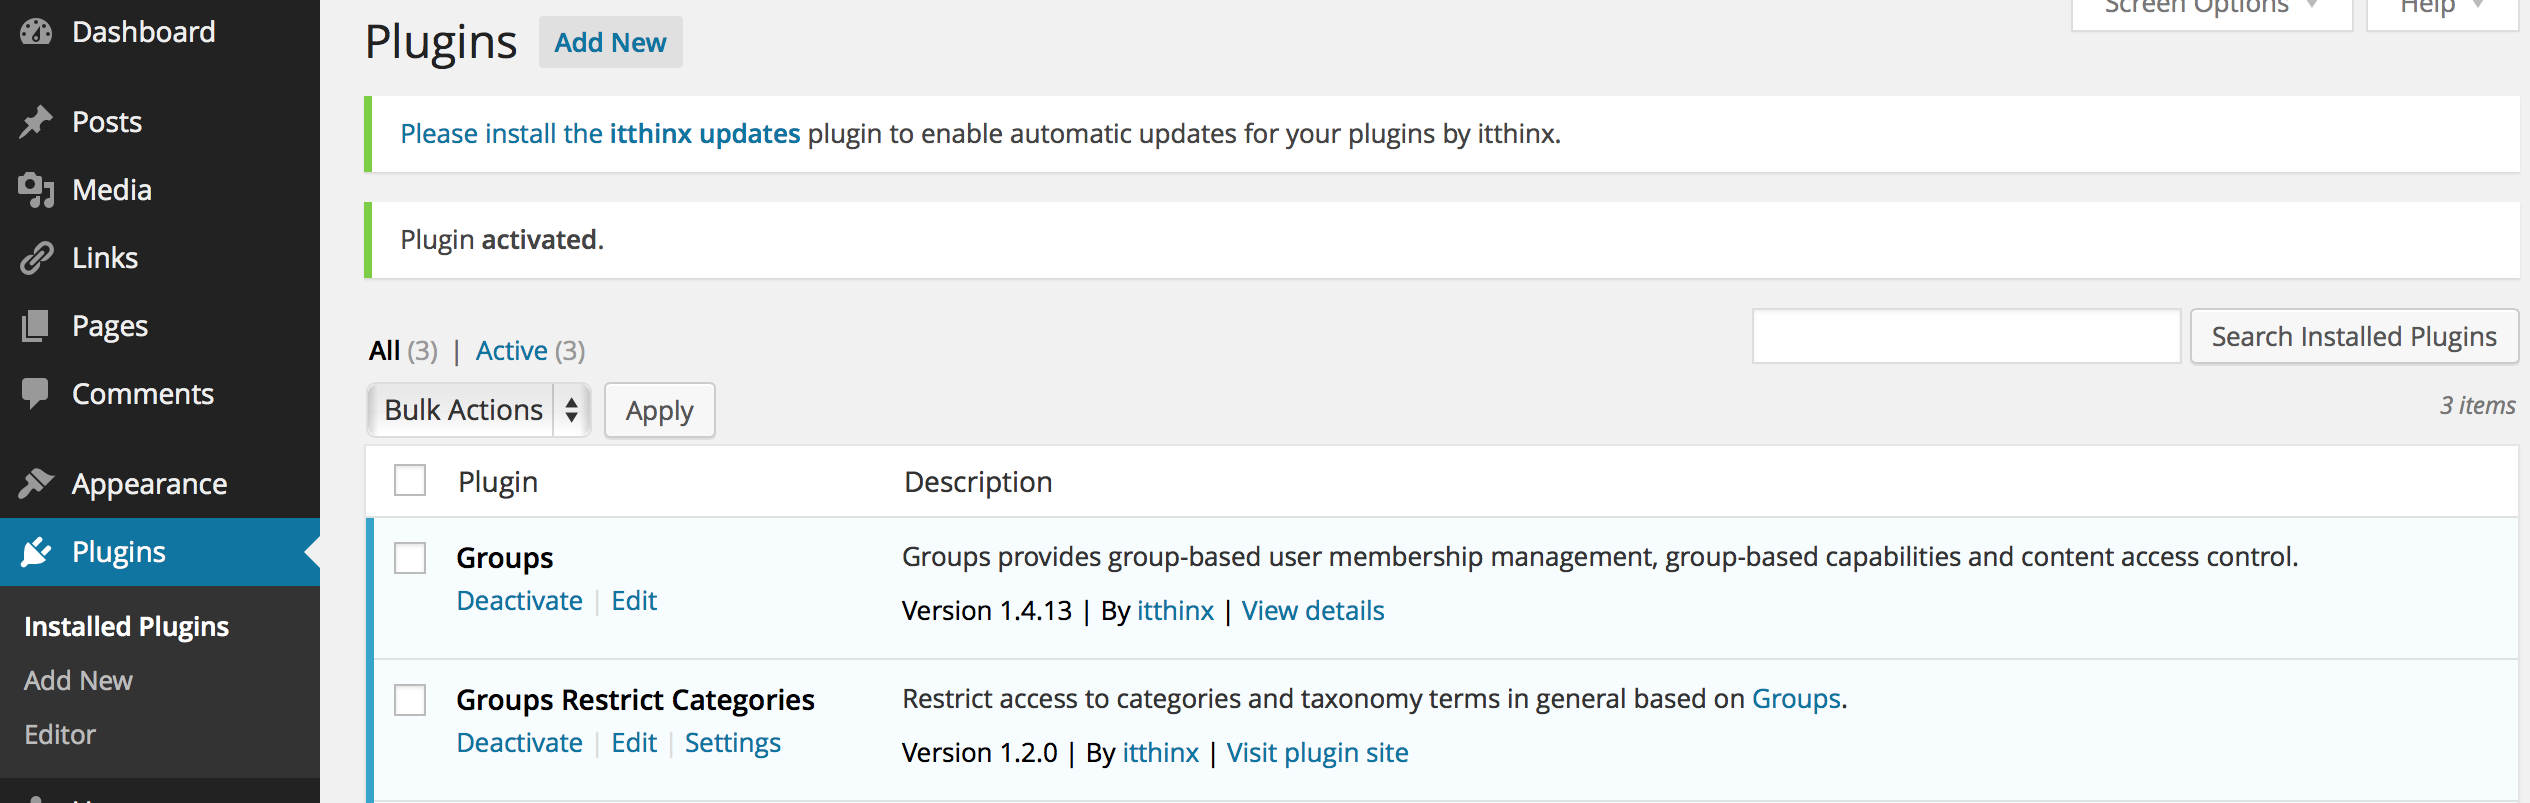
6. Activate the plugin.
If you have deactivated the Groups plugin that an integration plugin depends upon, you will need to reactivate Groups for it to regain its functionality. The integration plugin may cease to operate automatically when the Groups plugin is deactivated.
Updating Extensions
Use Itthinx Updates with your premium extensions or maintain a valid subscription for extensions provided via WooCommerce.com. For the free extensions you can use the automatic update process if the plugin is hosted on WordPress.org.
Removing Extensions
Unless special instructions are provided along with the integration plugin, you should be able to deactivate the integration plugin and then delete it.