Here we are going to explain how to use Groups Restrict Categories to control access with the standard WordPress taxonomy Categories. These are related to posts, so that if we restrict access to a category, the posts that belong to it are also protected.
We will use Categories for our purposes, although you can apply the same for any other supported taxonomy. To follow our examples for Categories, please make sure that access restrictions are enabled for these.
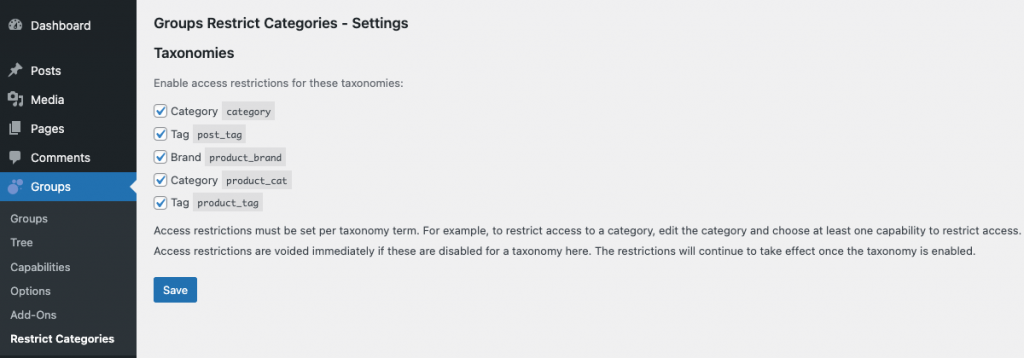
Go to Groups > Restrict Categories, the Category option should be checked. If it isn’t, check that option and hit the Save button.
If you have a more complex setup, you will see additional taxonomies in this section. For example, these are the taxonomies available on a site that also runs WooCommerce and the Groups Newsletters extension:
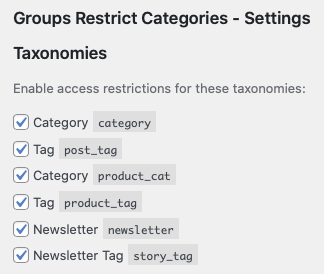
Note that the post and product taxonomies use the same names, Category and Tag. However, the taxonomy keys identify those taxonomies more clearly: category and post_tag for those related to posts, while product_cat and product_tag are those related to the Product Category and Product Tag taxonomies.
However, to keep things simple in the examples that follow, we will focus on normal post categories. You will find the same features added to other enabled taxonomies. For what follows below, simply make sure that the taxonomy Category whose key is category is enabled.
After showing how to work with the extension and restrict access via groups and taxonomies, we conclude with some additional notes on taxonomies and terms.
Access Control based on Groups
This section describes access control based on groups with Groups Restrict Categories 2.x and Groups 2.x. This is the recommended way to control access on posts through categories.
Creating a new restricted Category
To create a new restricted category, we just add a category as usual. We use an additional field where we can choose an existing group to control access to it. Users who are allowed to create groups can also create a new group there directly.
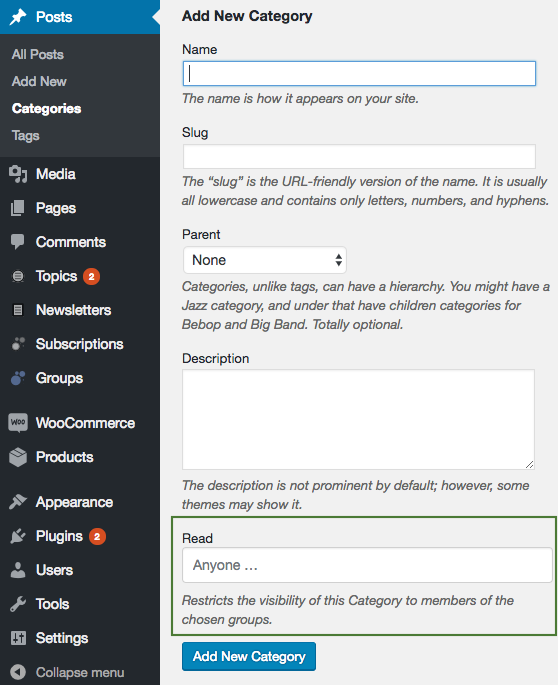
Go to Posts > Categories > Add New Category and you will find the additional field labeled Read. Input at least the new category’s name. Now proceed to choose a group to restrict access:
- If you are going to use an existing group to restrict access to this new category, click in the field and review the list of existing groups that appears – you must be a member of a group to use it here. You can also start typing part of the name of the desired group to reduce the list of choices. Click the desired group.
- If you are going to add a new group, simply input its name in the field. The group will be created and your user account will be added to it.
Once you have selected or indicated the group, click the Add New Category button.
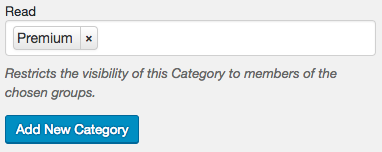
Here is an example of a category we named “Premium” and where we selected the Premium group to control access. This is how our new entry looks like in the list of categories:

As you can see, in the Groups column we can see the name of the group that is required to access posts in this category we have just added: Premium. Just to be clear, we could have chosen any name for our new category.
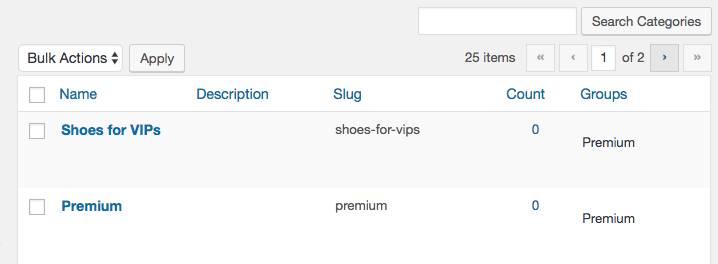
Above we can see another category that is also protected by the Premium group.
Restricting an existing Category
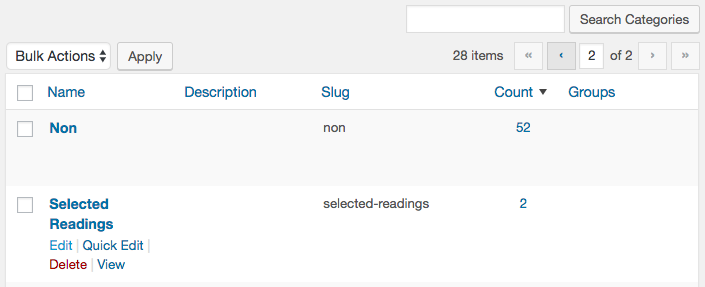
For existing categories, it’s equally simply to set an access restriction based on a group. Simply go to Posts > Categories and click the desired category’s name or hover over the desired entry and you will see the Edit and other links.
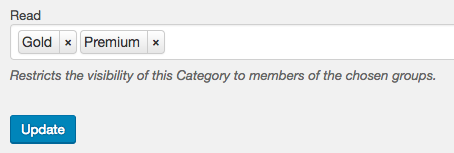
Clicking the category’s name or Edit link will take you to the editing screen where you will find the Read field we have already seen when creating a category. You can choose an existing group here or indicate the name of a new one you would like to create to restrict access to posts in this category.
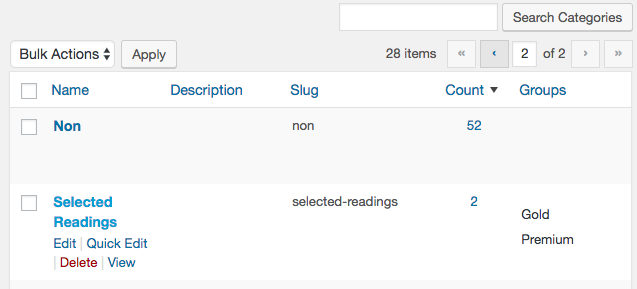
In this case we have selected two groups that will grant access to posts in this category, Gold and Premium, so that members of any of these two groups will be allowed to access its posts. After clicking the Update button and going back to the list of categories, we can see that these two groups now appear in the Groups column for this entry. Our category is now restricted to members of these two groups.
When editing a post, the extension provides information about the categories that restrict access:
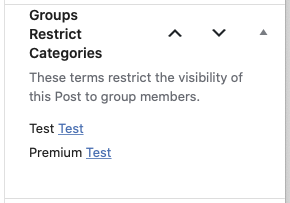
In the above example, the Test category restricts access to the post to members of the Test and Premium groups.
The default category Uncategorized (whose term ID is 1) does not allow to set access restrictions. This is by design and to avoid that this category is made unaccessible, as it needs to be available as the default category for new posts.
Taxonomies and Terms
By default, WordPress provides two taxonomies for which access restrictions can be enabled. These are Categories and Tags, as you may already know, you can assign posts to categories and indicate meaningful tags that are related to the content of a post.
When you create a category in WordPress, you are actually creating a taxonomy term, the same applies for tags and other custom taxonomies. Groups Restrict Categories lets you restrict access to the terms, for example a category or a tag, and to the posts that are related to the term.

The instructions provided for categories apply to any taxonomy as long as the way it is provided is through the standard facilities that WordPress provides. If an extension does not adhere to the way these are handled by WordPress, the restrictions and features described could not apply fully. If that’s the case, it would be a good idea to alert the extension’s author to the fact and ask them to make their taxonomies more WordPress-compliant.
