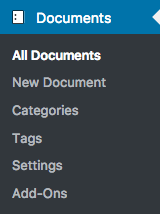
 Once the plugin has been activated, you will find a new Documents menu on your dashboard.
The Documentation plugin is rather setup-free although you can adjust a couple of settings. You will find a link in the Documents menu where you can access these settings.
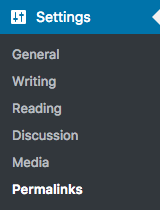
After you have installed and activated the Documentation plugin, we recommend to visit the Settings > Permalinks page on your WordPress Dashboard. It is also recommended to do that in case you have changed the Document slug option described below. You don’t need to modify anything there, just visit the page. Occasionally it is necessary to do this to avoid 404 Not Found errors when you have installed a new plugin which creates its own post types.
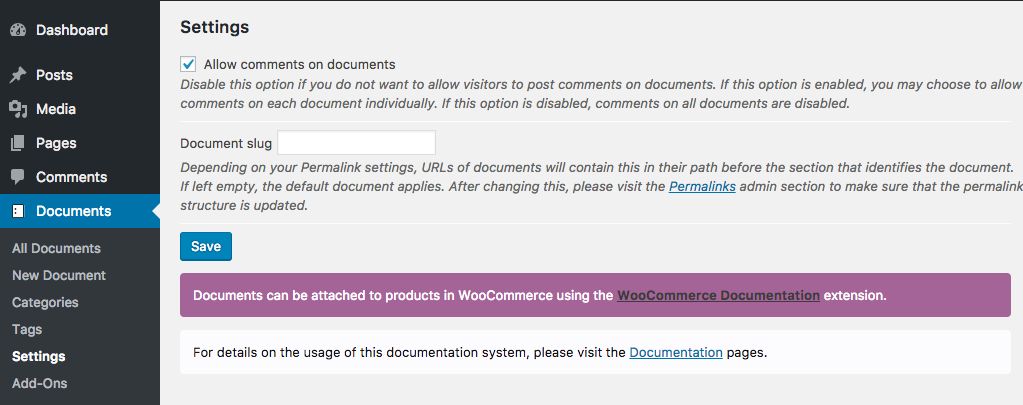
Go to Documents > Settings and review the following settings:
- Allow comments on documents
- Document slug

Allow comments on documents
If enabled, visitors are allowed to post comments on documents unless the Allow comments setting on a document is disabled. Click Screen Options and check the Comments option if you do not see the Discussion panel where this setting appears.
If this option is disabled, comments on all documents are disabled.
Document slug
This determines the prefix in your site’s path where all of the site’s documents are pending from. The default is document and you will see this depending on how your Permalinks are set up.
 Visit Settings > Permalinks after changing this to make sure that the site’s permalink structure is updated and reflects the change. This is important as otherwise your visitors will very likely get Not found when trying to access a document.
Normally, or when in doubt, we recommend to leave this option at its default (empty).
