
To install the free Documentation plugin follow the steps outlined below. We will explain how to do it directly from your WordPress Dashboard (recommended), and alternatively by first downloading the plugin file.
Installation from your WordPress Dashboard
This is the recommended way to install it. On your WordPress Dashboard, go to Plugins > Add New. and search for “documentation” …
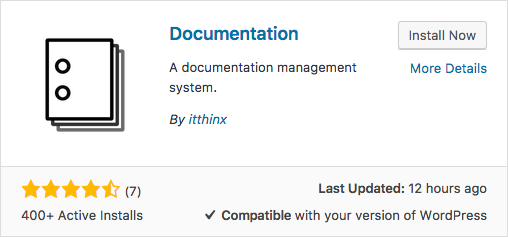
… locate the entry for the Documentation plugin by itthinx and click Install Now. In a few moments the plugin is installed and then click Activate to start using it.

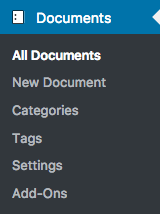 You will find the new Documents menu in the administration menu and useful links in the plugin entry.
The Settings link leads to the same section under the Documents menu where you will find some options you can adjust.
The Documentation link leads to the pages you are viewing here.
Installation using the plugin .zip file
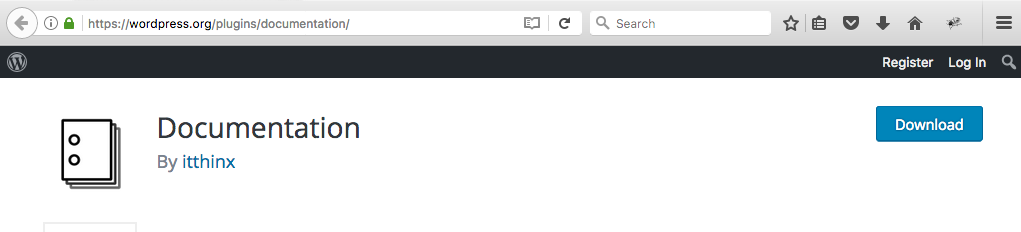
Go to the Documentation plugin page and click the Download button.
 Check that the
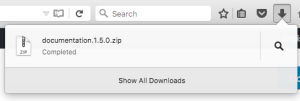
 .zip file was correctly downloaded.
Safari users: If you’re using Safari and cannot get your zip file, access the General settings of the Preferences menu and untick the checkbox “Open safe files after downloading…”
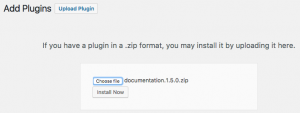 Go to Plugins > Add New on your WordPress Dashboard and click the Upload Plugin button.
Select the downloaded file and click the Install Now button, then click the Activate button.
Updates
To update the plugin, use the automatic update process.